Resize a photo — and get it under the size limit
"Maximum file size 200 KB." "Image must be 600×600 pixels." Government portals, job applications and university forms are full of these rules, and phone photos fail every one of them. Here is how to hit both targets exactly.
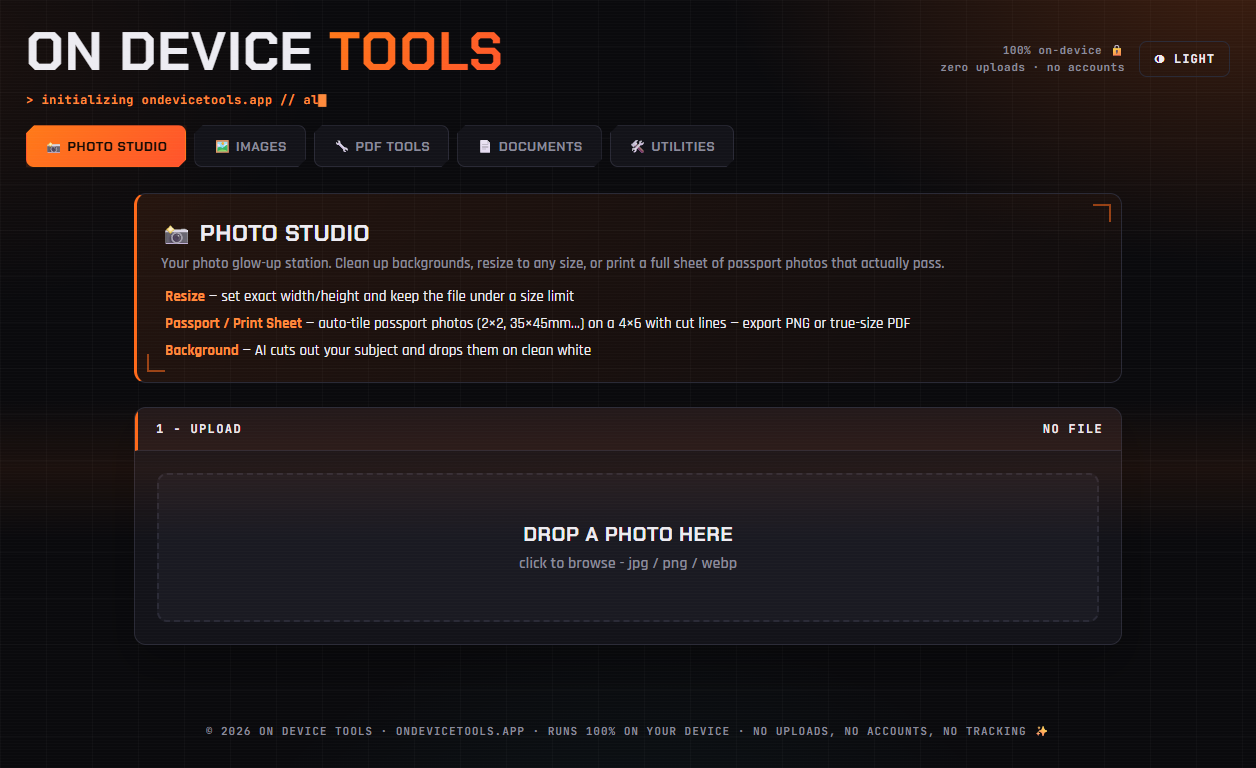
01Load the photo
Open Photo Studio and drop your photo onto the upload area. In the Background step choose Keep original background unless you also want the subject cut out, then click Prepare image.
02Set the exact dimensions
In the Resize tab, type the required width and height in pixels. Leave Lock aspect ratio ticked to avoid stretching. Use Contain to keep the whole image inside those dimensions, or Cover to fill them and crop the overflow.
03Squeeze it under the size limit
Enter the limit in Target max size (MB) — use 0.2 for a 200 KB cap — and click Auto-fit under target. The app steps the JPG quality down until the file fits, and shows the resulting size so you can confirm before downloading.
04Download
Click Download JPG for the smallest file, or Download PNG if the form demands PNG. The reported size is the real file size — no surprises when you upload.
Passport photos, HEIC conversion, PDF tools, resume builder, QR codes and more — nothing ever uploaded.
Get On Device Tools →